A Practical Guide to Group Hydration Services for Events
Explore group hydration services for events with practical guidance, key questions, and clear next steps before you contact Pure Drip or make a decision.
By Damanpreet Kaur
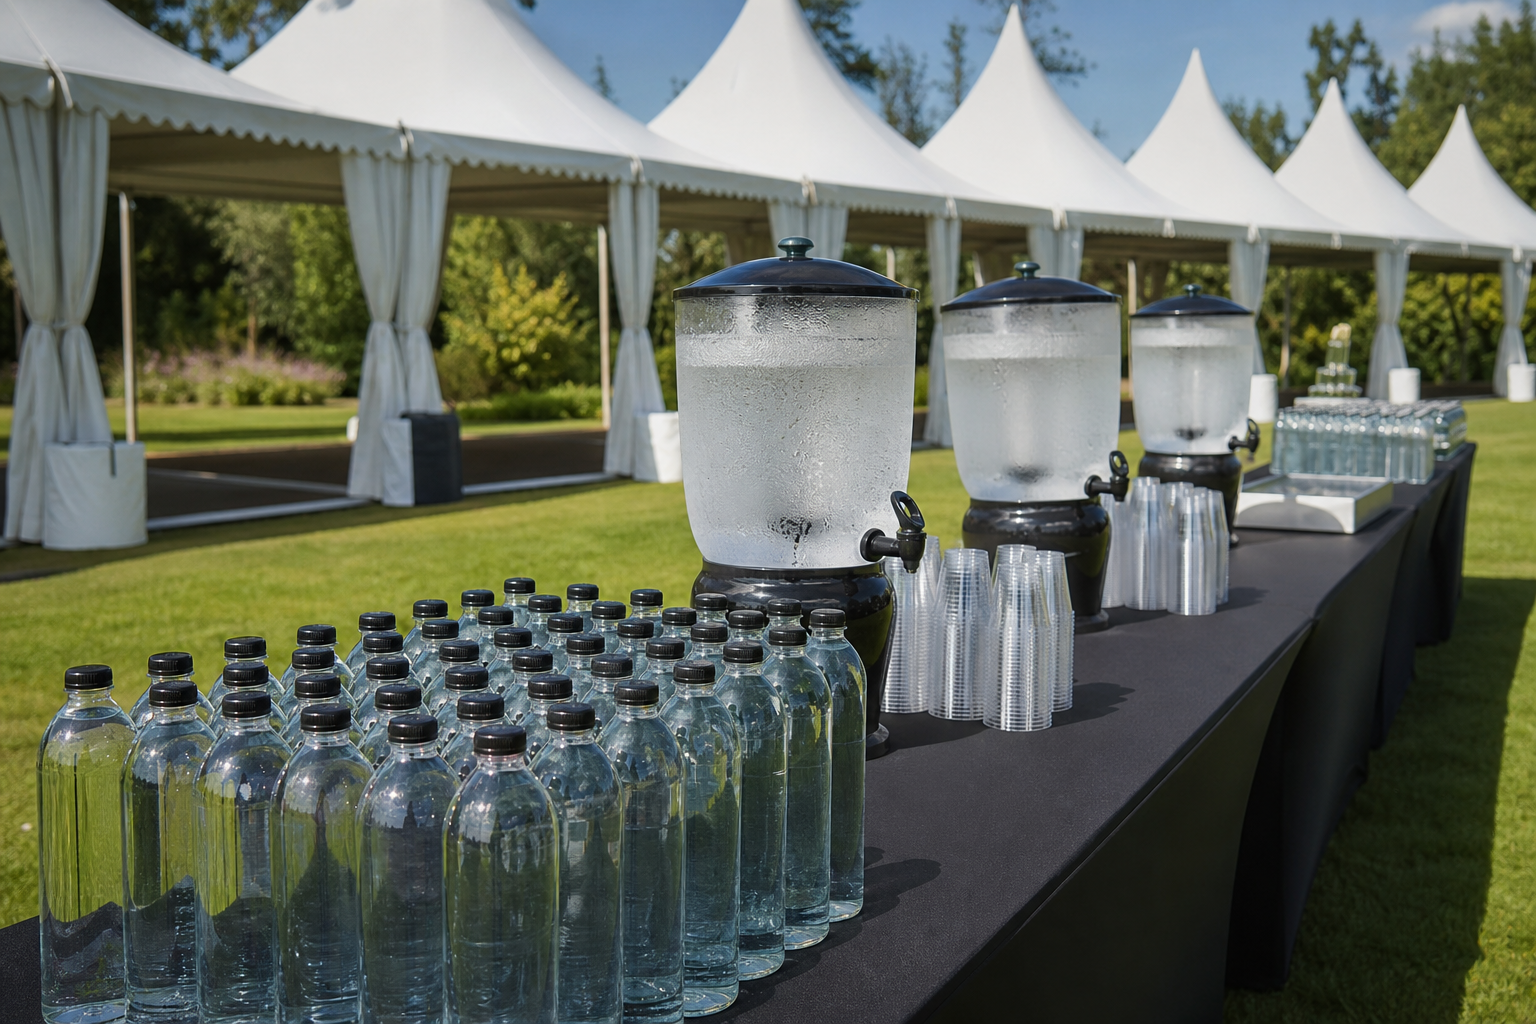
A Practical Guide to Group Hydration Services for Events
Whether you’re organizing a corporate offsite, sports tournament, music gathering, or a private celebration, keeping people hydrated is fundamental to comfort, participation, and smooth event flow. This guide offers a practical framework to evaluate and execute group hydration services for events—from simple water access to staffed stations, electrolyte support, and on‑site wellness options—so you can make informed decisions, operate safely, and keep your schedule on track.
Define your hydration objectives
Before booking services or buying supplies, clarify why hydration support matters for your event. Clear goals help you choose the right mix of self‑serve options and staffed services, size your inventory, and set expectations with vendors and guests.
- Comfort and hospitality: Reduce lines at concessions and offer guests an easy way to stay refreshed.
- Activity readiness: Support participants during physically demanding schedules such as tournaments, charity runs, or dance weekends.
- Operational efficiency: Minimize last‑minute runs for bottled water or ice; centralize responsibility with a defined plan.
- Sustainability intent: Lower single‑use plastics by emphasizing refill solutions and bulk dispensing.
- Wellness support: Offer optional add‑ons like electrolyte beverages or supervised services for guests who opt in.
Compare common hydration service models
Most events benefit from a layered approach. Match the model (or combination) to your guest count, venue constraints, and programming.
- Self‑serve water stations: Bulk water dispensers or fountains positioned near traffic hubs. Pros: cost‑conscious, quick to scale, low staffing. Considerations: frequent refills, spill control, sanitation, and cup/bottle policies.
- Staffed hydration bars: Attendants monitor dispensers, manage ice, offer citrus or flavour drops, and keep surfaces clean. Pros: elevated experience, faster refills, better hygiene oversight. Considerations: staffing rosters and training.
- Electrolyte and sports beverage kiosks: Powder‑to‑water mix stations or ready‑to‑drink coolers. Pros: supports prolonged activity or heat exposure. Considerations: allergen disclosures, sugar‑free options, and clear labelling.
- Backstage/team hydration support: Reserved coolers, labelled bottles, and scheduled top‑ups for performers, staff, officials, or athletes. Pros: reduces stage delays and missed cues. Considerations: access control and inventory checks.
- Optional on‑site wellness services: Some events add supervised options attendees can choose, which may include vitamin shots or IV hydration administered by qualified staff from a mobile provider. Pros: individualized support for guests who opt in. Considerations: vendor credentials, private space, consent, screening, and scheduling to avoid program interruptions.
Note on regulated services: If your plan includes any procedure that involves clinical screening, injections, or intravenous administration, ensure a qualified professional oversees it and that you follow your venue’s rules. This guide is for general planning only and is not medical advice.
Estimate demand and station footprint
Right‑sizing stations prevents bottlenecks and stockouts. Use conservative assumptions and build in redundancy for peak times.
- Map attendee flow: Identify high‑traffic areas (registration, stage doors, warm‑up zones, hospitality lounges, meeting corridors). Place stations where people naturally pause.
- Segment by need: Spectators, networking guests, and seated audiences generally require fewer stations per capita than athletes, performers, or outdoor crews.
- Time‑of‑day effects: Morning sessions often need hot water/tea options; mid‑afternoon spikes benefit from electrolyte choices; evening programs may require spill‑resistant solutions near dim lighting.
- Redundancy: For every three public stations, consider one backup dispenser or cooler stored nearby to swap quickly during refills or cleaning.
Logistics, equipment, and venue readiness
A smooth hydration program depends on clear roles and repeatable setup procedures. Draft a simple run sheet and kit list.
- Water source: Confirm potable water access points, pressure, and any filtration needs. If relying on delivered water, specify container sizes and delivery windows.
- Dispensers and coolers: Choose units with drip trays and lockable spigots if crowds are dense. Label each station’s capacity to guide refill routes.
- Ice management: Assign responsibility for ice pickups, safe handling, and melt‑water disposal. Use food‑safe scoops and covered bins.
- Cups and bottles: Decide on compostable cups vs. a “bring‑a‑bottle” policy. Provide a small reserve for guests who forget containers.
- Signage: Post clear labels for still/sparkling, hot/cold, electrolyte strength, and allergen notes. Wayfinding arrows reduce hallway congestion.
- Surface protection: Use non‑slip mats and absorbent pads; schedule periodic wipe‑downs to prevent puddles.
- Power and lighting: If using chillers or hot water urns, ensure dedicated circuits and cable management. Provide task lighting for evening refills.
- Waste and recycling: Place bins at each station; assign a cleanup sweep after program blocks.
Staffing, training, and station ops
Even simple setups benefit from a short orientation. Aim for predictable cycles rather than ad hoc refills.
- Role clarity: Designate a hydration lead to manage inventory, sanitation, and refills. Runners handle water swaps and ice; attendants tidy surfaces and guide guests.
- Hygiene protocol: Hand hygiene on shift start; gloves for ice handling; labelled “clean” vs. “used” utensils; daily sanitizer logs for contact points.
- Refill cadence: Set timed checks (e.g., every 30–45 minutes) plus surge monitoring during breaks and session transitions.
- Temperature targets: Maintain chilled options where appropriate, and keep hot water at safe holding temperatures. Record checks on a simple log.
- Allergen and ingredient visibility: If offering flavoured or electrolyte beverages, display ingredient lists and provide plain water nearby.
Considerations for optional on‑site wellness
Some organizers add optional services guests can choose individually, such as vitamin injections or IV hydration administered by qualified personnel from a mobile provider. When evaluating this category for your event, focus on safety, privacy, and scheduling discipline.
- Vendor qualifications: Verify that trained professionals administer any clinical procedures. Request documentation relevant to your venue’s requirements.
- Private space: Allocate a quiet room with seating, strong lighting, hand‑washing access or sanitization setup, and limited foot traffic.
- Pre‑service screening and consent: Ensure attendees receive appropriate information to make an informed, voluntary choice. Collect and store consent forms securely.
- Scheduling: Use appointment blocks to avoid program delays. Build buffers around key sessions for speakers, athletes, or performers.
- Supplies and waste: Clarify who provides clinical supplies, sharps disposal, and biohazard handling per venue policy.
- Privacy and data: Keep health information confidential and limit access to authorized personnel only.
Important limitation: Content in this guide is general information and not medical advice. If your plan includes any medical or wellness procedure, consult an appropriate qualified professional and follow your venue’s rules and applicable policies.
Risk management and safety checks
Build a simple safeguard checklist you can execute quickly during setup and again at show‑time.
- Trip and spill prevention: Tuck hoses and power cords; add non‑slip mats; place absorbent pads where lines form.
- Food safety basics: Use covered containers; rotate ice; clean contact points on a timer; refresh cut fruit regularly or use sealed flavour alternatives.
- Signage and supervision: Restrict backstage hydration to credentialed areas; keep hot water urns out of tight aisles.
- Emergency readiness: Provide a first‑aid location marker on maps; brief staff on incident reporting; keep spill kits at larger stations.
- Weather plans: For outdoor events, shade stations and protect equipment from wind and rain; pre‑secure tents and signage.
Communications that drive usage
Hydration programs work best when attendees know what’s available and where to find it.
- Pre‑event: Add hydration details to the agenda email and app—station map, bottle policy, and any optional services available by appointment.
- On‑site: Use floor decals and overhead signage; include hydration icons on wayfinding; announce refill reminders before long sessions.
- For teams and talent: Share a one‑pager covering backstage locations, labelled bottles, and refill windows to prevent missed cues.
Budgeting and sustainability trade‑offs
Make early calls on cost vs. impact to avoid mid‑event surprises.
- Bulk vs. bottles: Bulk dispensers reduce waste and restocking trips but require sanitation cycles and refill labour.
- Electrolyte strategy: Powders in bulk are economical and easy to store; ready‑to‑drink suits quick service but needs more cooling capacity.
- Reusable ware: Offering branded refillables can cut cup waste; plan for dishwashing or encourage guests to keep their bottles.
- Staffing vs. convenience: Staffed stations increase hygiene and speed during peaks; self‑serve is workable for low‑intensity schedules.
Sample hydration run sheet
Adapt this outline to your event’s size and venue rules.
- T‑14 days: Confirm water source logistics, dispenser counts, and any optional vendor requirements; finalize floor plan and power needs.
- T‑7 days: Order consumables (cups, powders), signage, spill mats; circulate staff roles; open appointment slots if offering optional services.
- T‑1 day: Pre‑stage equipment; test power; assemble sanitation kits; post wayfinding; brief staff on hygiene and refill cadence.
- Show‑day pre‑open: Fill and chill; post allergen labels; place waste/recycling; double‑check cord covers; stock backstage coolers.
- During program: Timed checks every 30–45 minutes; surge refills at breaks; wipe surfaces; rotate ice; update inventory sheet.
- Close‑out: Drain and sanitize dispensers; inventory leftovers; log improvements; bundle signage for reuse.
Post‑event measurement and iterating
Simple metrics help you right‑size future events and validate budget decisions.
- Consumption: Track litres dispensed and electrolyte servings used by zone and daypart.
- Throughput: Note average queue times at peaks to adjust station counts.
- Waste: Weigh bagged waste or count sleeves of unused cups to refine ordering.
- Feedback: Ask a single post‑event question—“Hydration access met your needs?”—and collect free‑text comments for layout tips.
Frequently asked questions
What’s the simplest way to forecast water volume?
Estimate 0.5–1 litre per person for low‑intensity indoor programs and more for active or outdoor schedules. Split volume by zone, then add a 10–20% buffer for heat spikes or unplanned surges. Track actuals for future refinements.